Photos by Gregor Moe
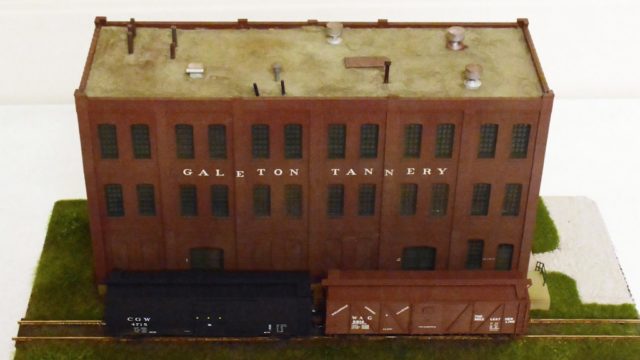
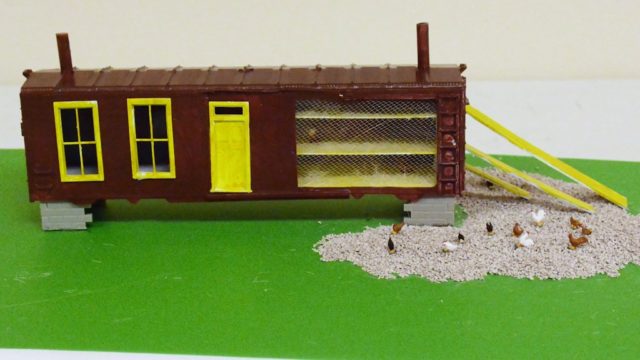
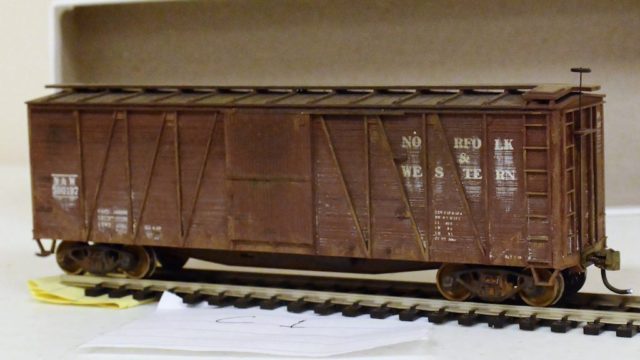
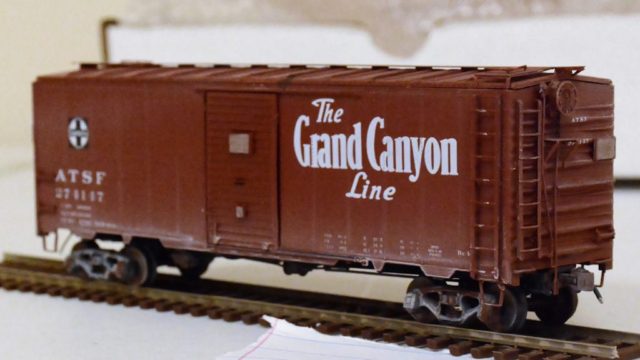
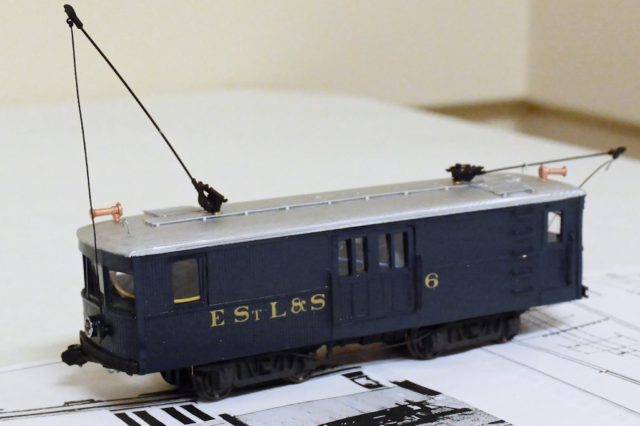
This year’s contest featured a very simple set of rules. The first rule required the entrant to start with a box car. Entries were divided into models and dioramas. The seven entries provided a nice variety of what can be accomplished with a box car.
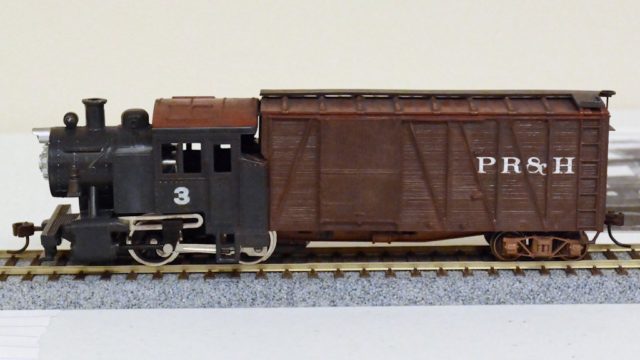
1st Place Model: P.R. & H. RR Steam Powered Boxcar by Rich Velten
My kitbashed steam powered boxcar was inspired by a photograph I found on the internet. I had seen other photos of distillate or gasoline engine powered railcars used on some narrow-gage railroads, and wondered if I could produce something like the steam powered boxcar in the picture I had found.
I decided to utilize a Model Power 0-4-0T steam engine and an Accurail undecorated wood sheathed box car.
I started by modifying the steam engine. First I removed the body of the 0-4-0T. I removed the drive train which consisted of a can motor with shaft mounted worm driving the worm gear mounted in the rear axle. I shortened the frame of the 0-4-0T by cutting off the rear portion which held the can motor.
I then started to modify the tank engine’s shell. The front boiler was cut from the tank portion and shortened by about 3/4″. The tank portion was cut from the cab and shortened by about 3/4″. The three sections of the shell were glued back together to form a very compact shell. A test fit to the shortened frame indicated that the bottom of the cad had to be cut off to clear the valve gear on the drivers. After the cab was shortened, I started to modify the boxcar.
The boxcar needed to be shortened by about 2″. First I cut off the end of the boxcar which did not have the brake wheel. I then cut 2″ off the same end of the boxcar. I also shortened the floor and center frame by the same amount. The boxcar end previously cut off was shortened to fill the gap from the top of the engine shell’s coal bunker to the roof of the boxcar and re-attached to the cut end of the boxcar. I modified the boxcar’s roof walk to match the shortened car.
Next, I attached the cut end of the boxcar to the back of the engine shell. I installed the floor of the boxcar and the frame of the engine and added bracing to connect the engine frame to the boxcar frame. I used a putty type of filler to hide some of the gaps where sections were glued together. Once the putty had dried, I sanded the areas to get a smooth surface for painting.
I installed a Kadee coupler on the rear of the boxcar and glued a modified McHenry coupler to the front of the engine.
I assembled an archbar truck for the rear of the boxcar and painted and weathered it. I painted the boxcar portion of the kitbashed unit “red oxide” and the engine shell “engine black.” The boxcar top walk was painted “roof brown.”
After allowing the paint to dry, I applied decals to the boxcar for the fictitious “Portland, Rhineland & Herman Railroad” which operated in central Missouri on the north side of the Missouri River west of Herman, Missouri.
After allowing the decals to completely dry, I weathered the steam powered boxcar with pastel powders (dark grey (grime), black (soot), dust (tan), rust (red), etc.), blended the colors together, and I was finished.
I wanted to modify the smokestack to a Balloon smokestack and replace the more modern headlight with an old fashioned oil type headlamp mounted on the top front of the boiler but didn’t have the time or parts needed.
In retrospect, I had a lot of fun kitbashing this project, letting my imagination run rampant to create this “Steam Powered Boxcar.”
Parts & Supplies:
- Model Power 0-4-0T engine
- Accurail unpainted wood sheathed boxcar
- Sheet styrene (various thicknesses)
- Archbar freight car truck with 33″ wheels
- Solvent plastic glue, 2-part epoxy glue, gap putty
- Razor saw, sharp knives, sandpaper, sanding sticks
- Water based acrylic model railroad paints, brushes or airbrush
- Water slide decal set of letters & numbers
- Weathering pastel chalks and powders
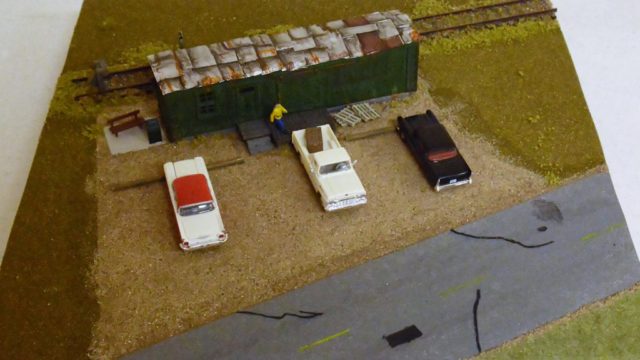
1st Place Diorama: The First Time by Dan Knipp
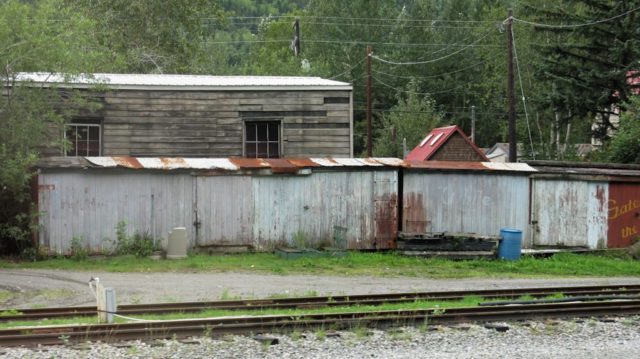
I know I would have done a kitbash sooner or later, but the “Start With a Boxcar” contest gave me the nudge to get on it. I had an idea of an office/storage building for my shoestring short line to be and was inspired by old boxcars of the WP&Y RR I saw while on an excursion.
My short line is frozen in the late 1960s so I didn’t have any sheathed boxcars to start with.
A trip to the “they will never run on my layout box” revealed a Tyco ice refrigerator car that would work fine. Searching through the leftovers box yielded a rolling warehouse door, an entry door, a window, a stove stack, a loading platform, and a wood deck.
Fitting the doors and windows was a challenge as the Tyco car had very thick sides. I also added metal patches (aluminum foil) to cover “rotted wood”. I kept the paint light enough to allow the original paint to show. After painting and a black wash I scraped several locations near the bottom to simulate peeled paint.
I purchased corrugated plastic sheet to use for the roof but it looked way too thick. I tried aluminum foil rubbed on the sheet but it did not give a good impression so I looked at some kits and found a roof with deeper corrugations and rubbed the foil with a high density foam cube to get a good impression. I cut the foil to a scale 4 feet by 10 feet and attached it using a slow CA. Then I looked through my paints for any colors that could simulate rust. I finished with a heavy black ink wash.
I painted the track with flat brown rattle can. then painted the ties rail tie brown. Of course the ties looked new then so I mixed up a gray wash and applied that various coats so the ties had variety. I learned to ballast at one of our clinics and I just used play sand. I used a “fresh” rust color on the rail tops.
I used Woodland Scenics grass mats on two areas and experimented with felted polyester for a small area. I ran over this multiple times with a knife to get the fibers to stand up. The road is 2mm closed cell craft foam painted and detailed. I fabricated a base for the car from full size tie stock along with supports for the entry door deck and steps. I used an extra factory window glass for the break area painted concrete and added a trash can and a bench from the leftovers box. The parking lot is mortar sand and the truck and Ford are from Classic Metal Works and I don’t know who made the Chevy.
Overall almost every step was a challenge and I spent more time thinking and planning than actually building. At every step I was afraid I would screw up what I had already accomplished. I was also worried about displaying my work next to some of the more experienced modeler’s work. In the end I was happy with what I created and surprised that it was the favorite.

