photos by Richard Schumacher
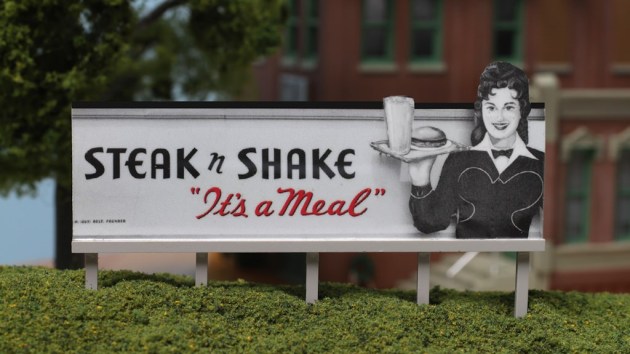
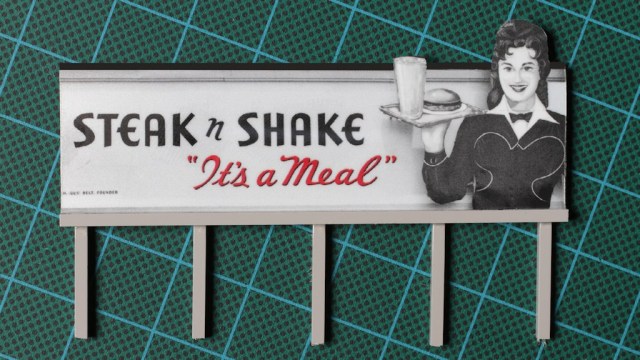
The dining room of our local Steak ‘n Shake is decorated with photos of Steak ‘n Shake buildings and signs from the 1950s. I always liked one photo of a small billboard, and had thoughts of asking the manager if I could take a photo of it to print to make a model version. However, Steak ‘n Shake has made that project even easier – and turned it into a one-hour modeling project.
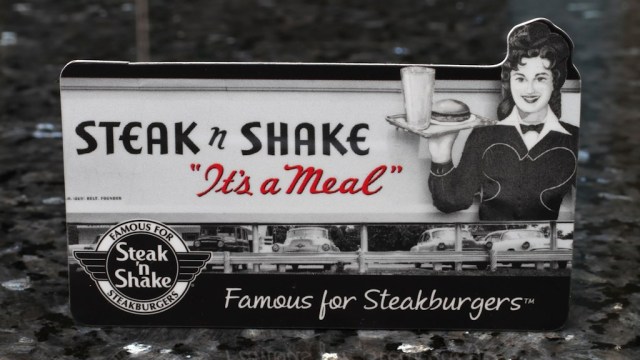
One of their gift cards now features the billboard I liked – and it is sized to work nicely in either HO or N scale.
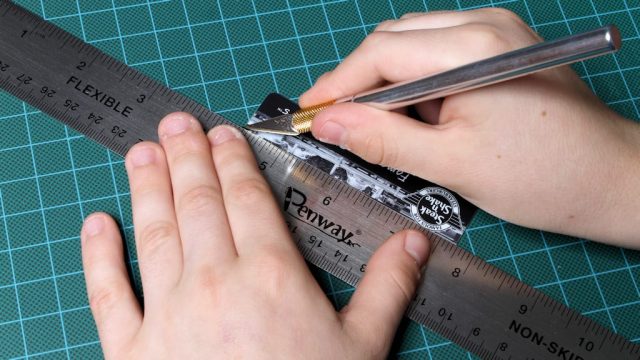
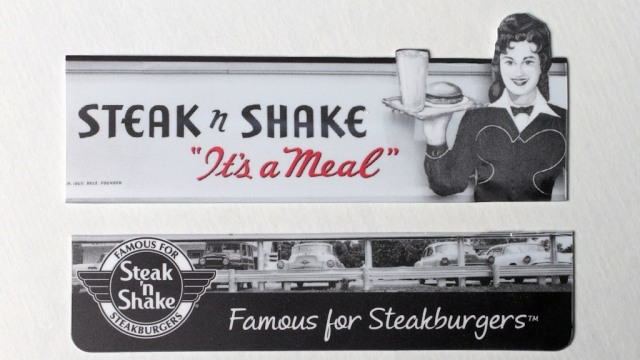
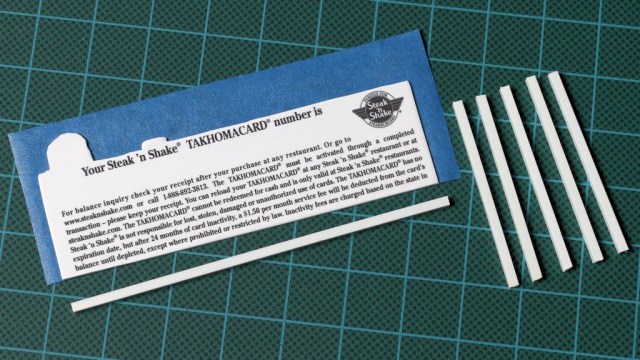
You’ll want to trim the logo, cars and posts from the bottom of the gift card. Use a new X-ACTO blade as the gift card plastic cuts very easily (with a new, sharp blade) and only requires a couple of light passes (don’t press hard – the blade will wander). A metal ruler or straightedge will ensure a straight cut.
I decided to slightly trim the top of the card as well, making the black line thinner and emphasizing the shake glass. You may decide not to do this, as it is easy to make a mistake with your cuts (a spare gift card might be needed for your second try if you attempt this). I also tried a version with the black line and top frame completely removed, but it didn’t look as nice.
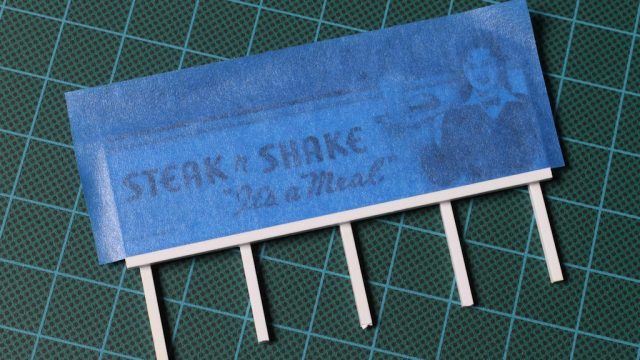
Cover the front of the card with painter’s blue tape to protect it, pressing firmly to ensure the tape is sticking well on all of the card edges. You’ll need to sand the back of the card as it has a shiny clear coating that paint, and especially glue, won’t stick to. A medium-grade drywall sanding sponge works well for this kind of sanding. You’ll want to sand until the shiny clear coating is gone from the back of the card. Remove the tape, and completely wash the card to remove sanding dust and fingerprints. After it is dry, put a fresh piece of painter’s tape on the front, making sure it lines up with the bottom edge of the card. Firmly press all of the card edges to the tape.
I’ll install this billboard on my layout by inserting it into a small Styrofoam hill, so I made my legs a little on the long side. On this project, it is easier to make the legs long and cut them down to the final size you need once the glue and paint has completely dried. I made my legs out of 3/32″ square styrene plastic I had on hand, but 1/8″ would create a more delicate “look” (and would be a more appropriate choice for an N scale model). I cut five legs 1-3/4″ long. You’ll also need one more piece to act as the bottom frame of the sign. I cut this the width of the card (3-3/8″ long).
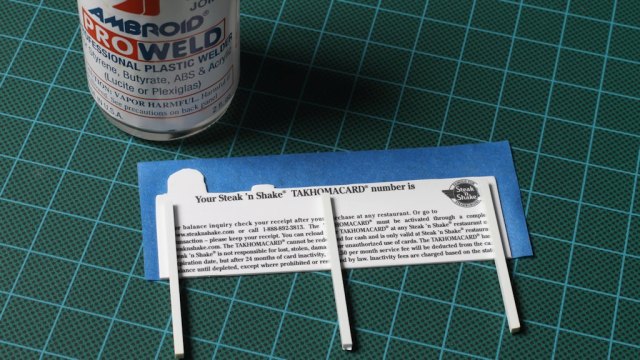
I found that Ambroid ProWeld worked well to glue the styrene legs to the card (as long as you removed the shiny clear surface from the back of the card). I positioned them by eye, doing the two ends first. Paint two coats of ProWeld on one side of the section of a leg that will attach to the back of the billboard and them press the glue side of the leg firmly to the back of the billboard. Do the center leg next, aligning (by eye) midway between the end legs. Finally add the remaining legs between the center and ends.
Place drops of ProWeld on the legs right where they meet the gift card. You’ll likely need to apply the drops twice so you have wet glue on each leg. Then place the bottom rail on all the legs, making sure it is snug up against the bottom of the gift card.
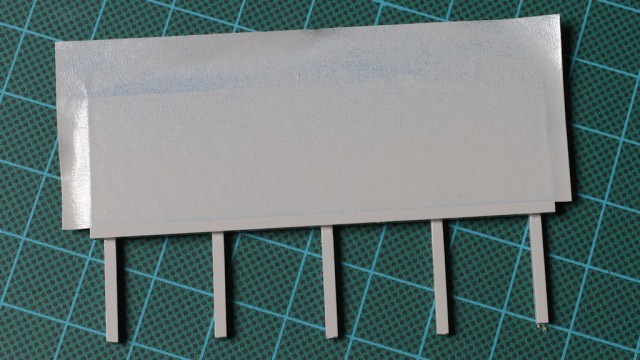
Since the gift card is printed with a silvery ink, I decided to paint the back and legs light gray. I used a Rust-Oleum American Accents Soldier Gray shaker-can I had on the shelf. Paint the back side first, placing it on a color grocery ad (the ink usually doesn’t come off those) so you can rotate it during spraying. The trick with shaker cans is to use very light coats, and start the spray to one side of the model you are painting, sweep across, and stop the spray only after you are past the model. This ensures an even coat.
Spray a light coat (like a single pass or so) on the back of the sign, turn it 180 degrees and spray another light coat (turn the paper it is sitting on, not the painted part). Now turn it 90 degrees to spray a light coat from one side and turn a final 180 degrees for a light spray from the other side. All light coats! This ensures that all sides of the legs received paint, and should ensure a nice even coat on the back. Now wait for it to completely dry. Then flip it over and give in two more light sprays – one looking at the bottom of the sign, then rotate it 180 degrees and do the final spray looking at it from the top side. This ensures an even coat on the front of the legs and the frame we added at the bottom of the gift card.
Wait for the paint to completely dry. Remove the painter’s tape and install on your layout. You can touch-up the black on the top edge with a black Sharpie pen. Enjoy!



Looks great, Richard!
Good idea Richard, I like it.