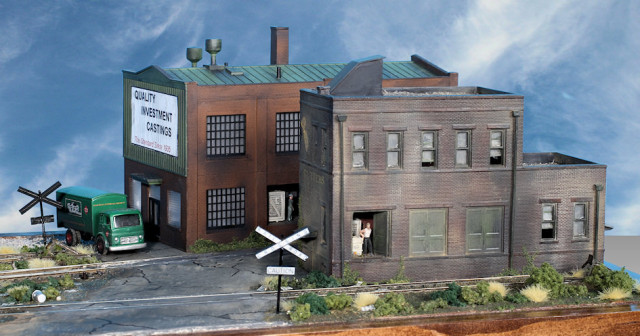
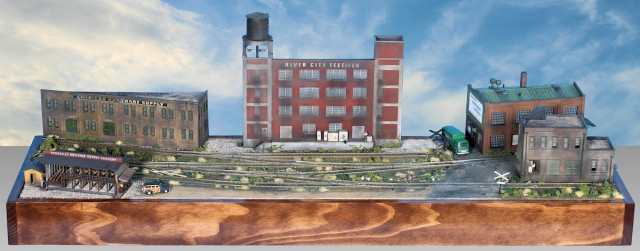
layout design, text and photos by Richard Schumacher
Our 15th project railroad has a number of differences from our previous model railroad layouts. The other project railroads were given away each year, we plan to keep this one (at least for a few years). The other project railroads had a loop in the plan so the trains could go round and round, this one is purely a switching layout and doesn’t have a continuous running option. And this one was designed to be really small, so it will sit on a table at train shows and easily move in the back seat of any car.
Design Parameters
Purpose – a small switching layout for display and operation at Train Shows and other events.
- Must fit on a standard Train Show table with room for a tabletop display and literature/handouts.
- Light weight and easily transportable, even by one person.
- Sized to fit in the back seat of a normal automobile.
- Little or no assembly/setup required on site.
- Fairly easy to build.
- HO standard gauge using commercial track pieces.
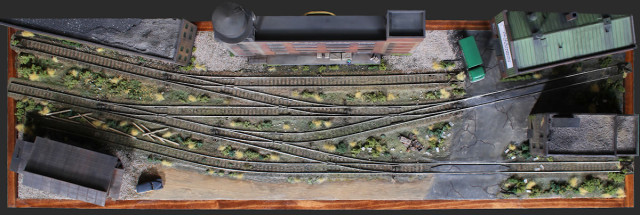
- One runaround track with facing and trailing point sidings.
- Ability to expand or connect to another layout.
- Switching contest capability, but still moderately easy to switch.
- For a small switch engine and 40′ boxcars.
- Interesting online structures.
- Able to work with either conventional DC or DCC power.
Switching Layout Design and Construction
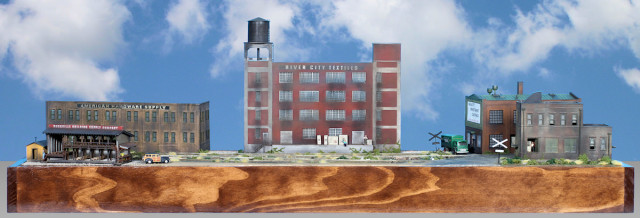
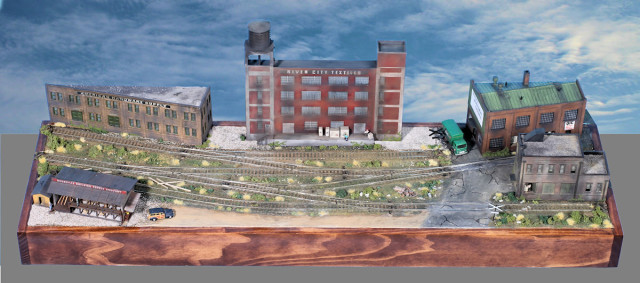
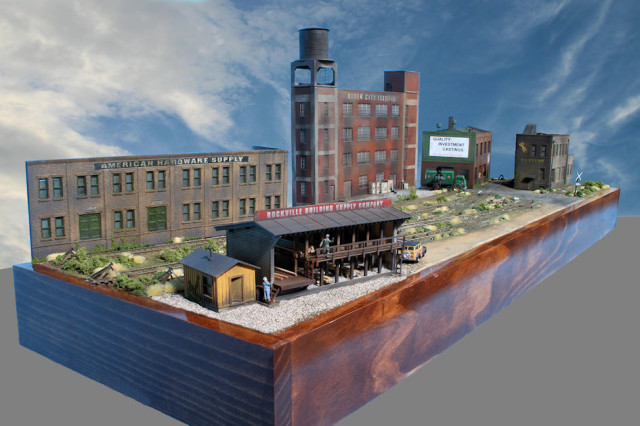
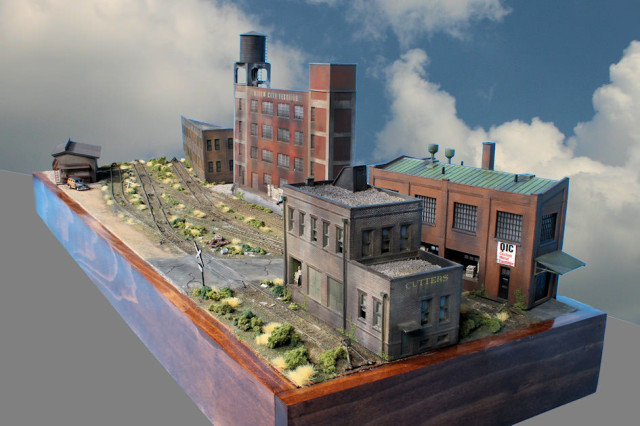
I worked though four possible designs. Most were too wide for the “fit in the back seat” goal. Some were too complex to switch for the average person walking up at a Train Show (the idea, after all, is to have fun with the layout). The final design features five industrial structures, six car setout spots, and six #4 turnouts – and with some construction, operation and parts selection tricks made it in at just shy of four feet in length. Our Train Show version weighs just over 13 pounds and has a handle on back to carry it around. If you want to build a version of this railroad for a home layout, I would recommend the slightly longer (and easier to operate and build) version shown on the track plan page. Track Plan and Parts Lists for the home version Gateway Central XV.
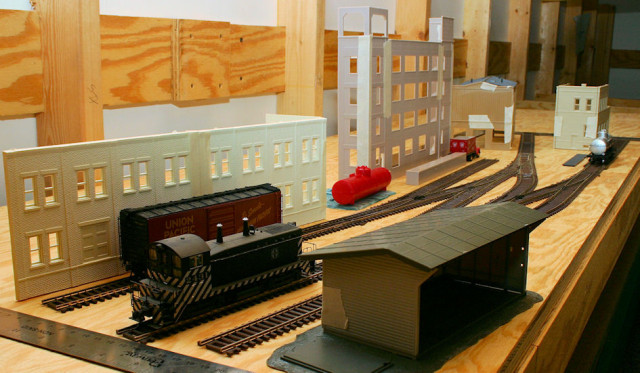
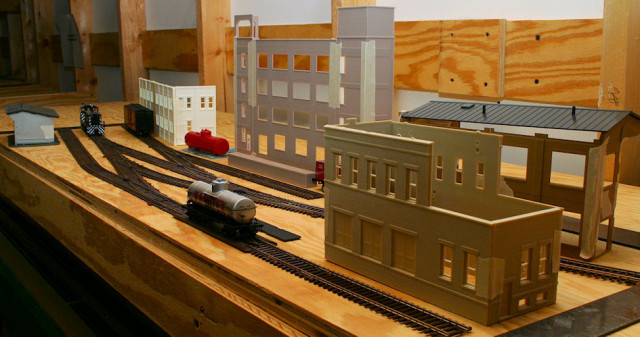
Although there are lots of good track planning programs available, I prefer to design small layouts using actual track pieces laid out at the final size of the railroad. This helps the planning considerably, since I have a tendency to pack as much railroad as possible into the space. I also like to mock-up the buildings using parts from the kit taped together to make sure they look appropriate and will fit in the space available (photocopies of the wall sections taped together would work as well). Buildings and Structures on the Gateway Central XV. The photos show the planning mock-up and the final Train Show layout.
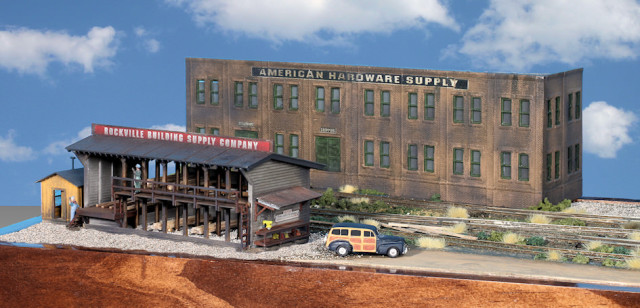
Small structures were selected for the front to not block the view of the tracks or the buildings in the back. The front structures were placed at the corners leaving the middle open to reach in to throw the turnouts and uncouple cars. The background structures line the rear edge of the layout, with the largest in the middle. The two back corners required kitbashed structures to suit the locations, but the structures selected are easy to customize this way.
The layout frame is constructed of select pine 1x4s – an outside box of vertical 1x4s with an inside shelf of horizontal 1x4s 2″ down from the top edge – all biscuit joined, glued and brad nailed (the nails just hold it together until the glue dried). This makes for an extremely rugged (almost indestructible) and lightweight frame. This is obviously overkill for a home layout, but great for a layout that travels around and is occasionally dropped. A piece of 2″ thick foam (available from your local building center – it’s used for insulation) was cut to fit inside the frame and was glued to the inside shelf with carpenter’s glue. The track was also attached with carpenter’s glue (just make sure not to put any under the moving parts of the turnouts). The frame, foam, track, and attached scenery weigh only 13 pounds.
This layout will go to Train Shows so that the public can run it – learn about operation, switch cars, see how it was built, and ask questions. We even plan on using it for switching contests – four cars on the layout is fairly easy, six or seven cars gets very interesting.
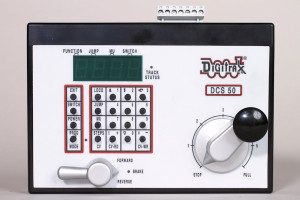 DCC control was selected for the layout as we can demonstrate how it works, and allows the public to learn and experience what DCC does hands-on. The engine has a SoundTraxx (sound) decoder installed so visitors can ring the bell and blow the whistle. An entry-level Digitrax Zephyr (DCS 50) throttle was selected which connects with two wires to the layout.
Look for this layout at our booth at upcoming Greater St. Louis Area train shows and our Annual St. Louis Train Show. Stop by, run a train, toot the whistle, and switch a few cars.
Make sure to check out the close-up photos of each of the Buildings and Structures on the Gateway Central XV. That web page also includes information on how to kitbash the two back corner structures.
If you would like to build a railroad like this one, please see the Track Plan and Parts Lists for the home version Gateway Central XV.

