Part I: Understanding Nature
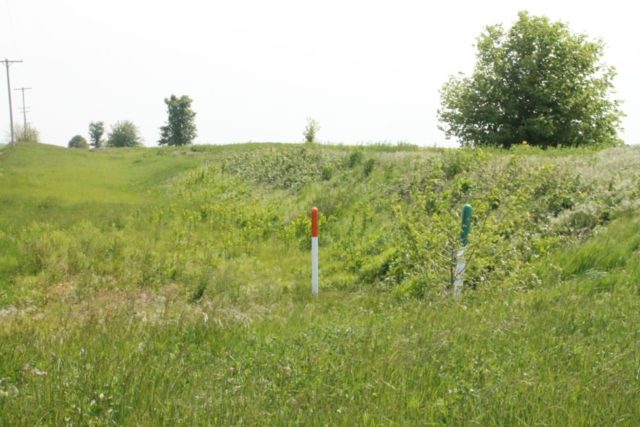
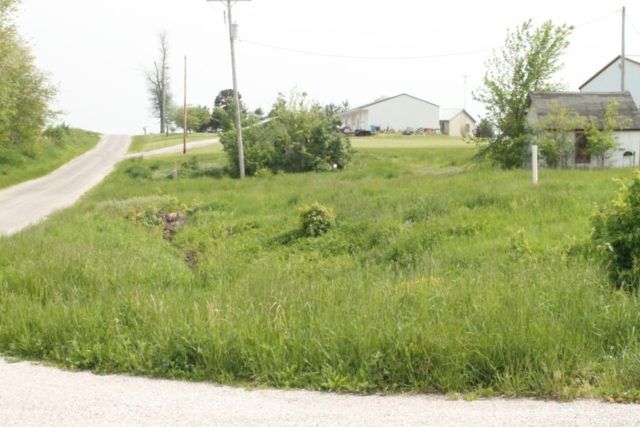
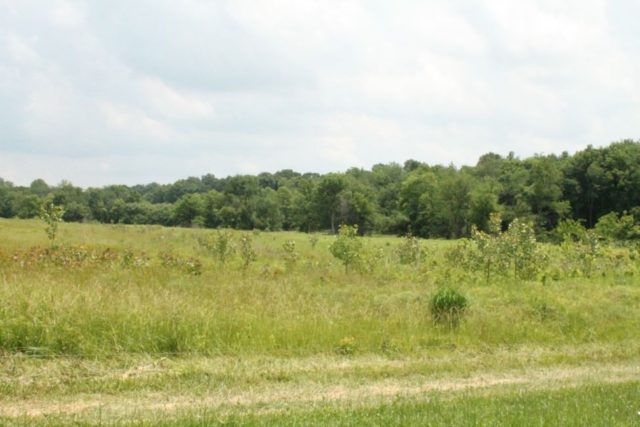
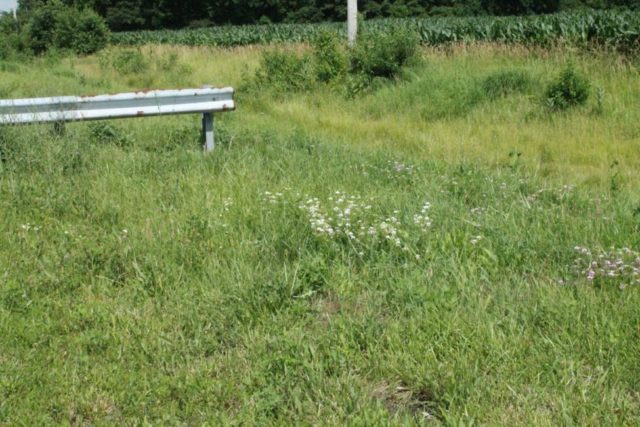
Grasses make up the majority of the plants in the photo but there are a variety of leafy plants interspersed and often taller than the grass and there are some trees starting and others full grown.
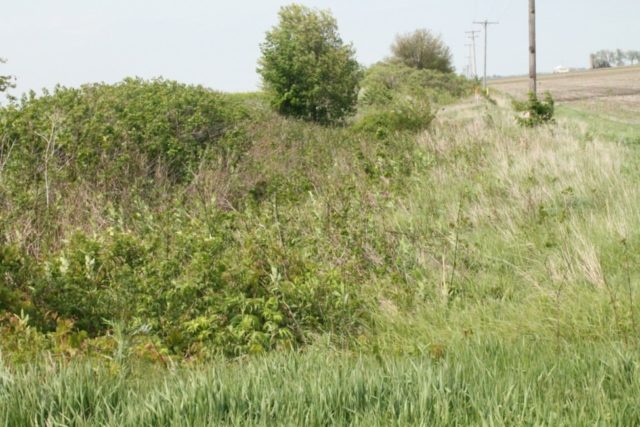
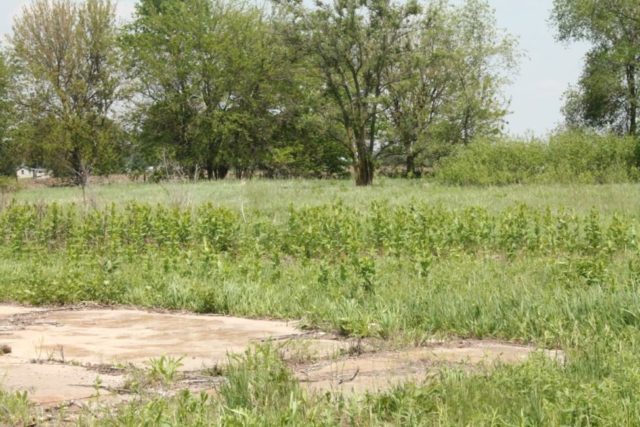
Here is an area where the brush is taking over the area. Notice last year’s dead plants on the right.
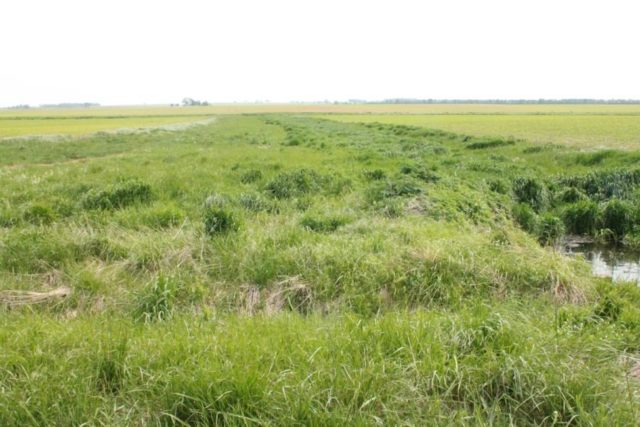
Here is a good example of how the vegetation grows in clumps and breaks up the surface into hills and ridges.
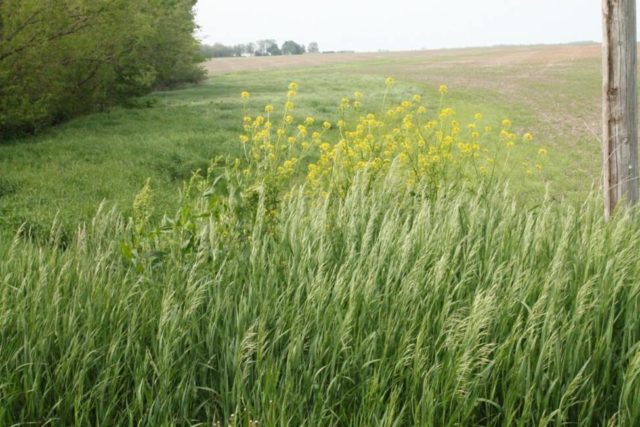
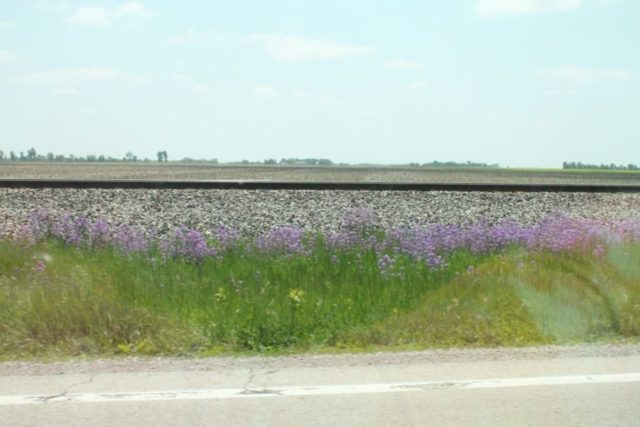
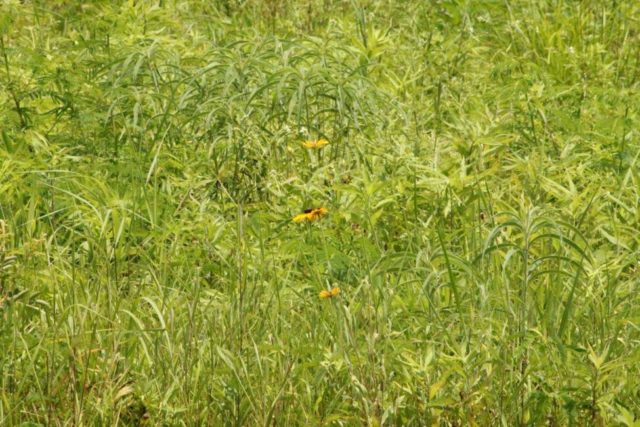
Here is the color that a lot of us forget to add in the wild areas.
Even more color.
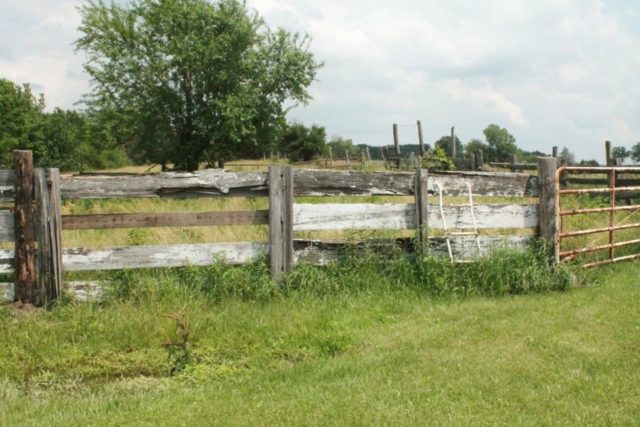
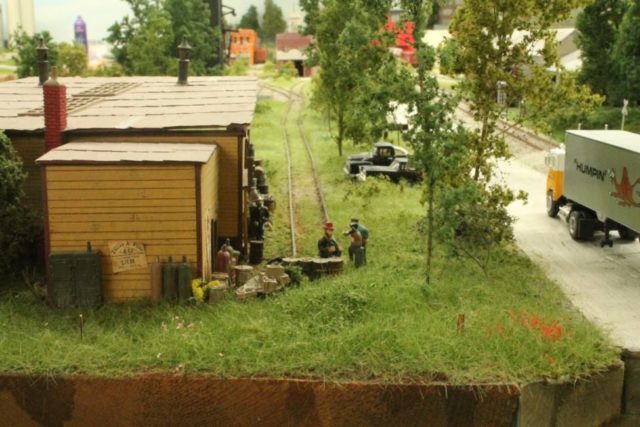
See how in areas that are not kept up the trees start growing right next to the buildings and also that their branches tend to grow all the way to the ground.
Some vertical leafy plants in an area that used to be under human control but nature is taking it back.
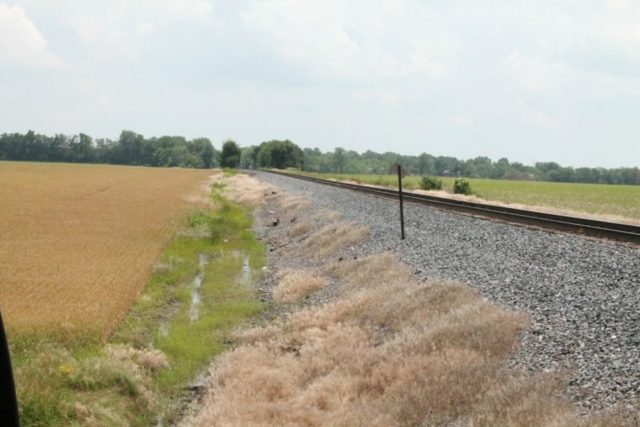
The railroad has been out spraying to keep the weeds down.
Notice the nice row of trees starting, there was probably a fence there once.
That is not grass but stems with long bent leaves.
Areas that aren’t mowed tend to get a variety of plants growing in them.
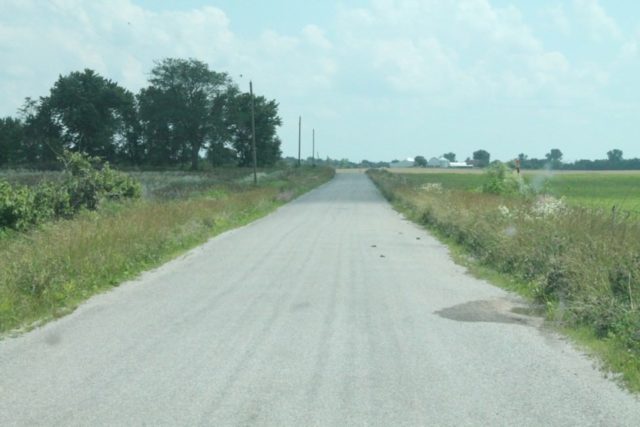
If your county can’t afford to mow the road sides the plants will grow right to the road’s edge but even if they do mow you still need low plants right up to the edge of the road or shoulder surface.
Not all plants or flowers are tall.
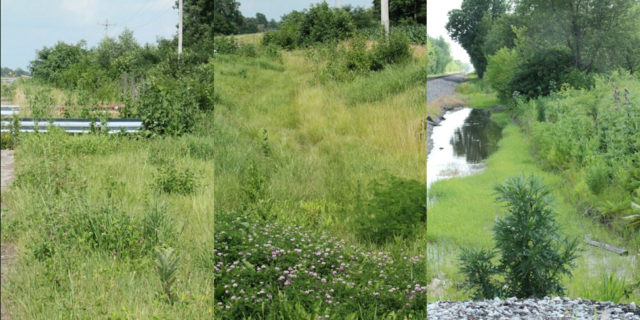
(Left) An example of an area that is being taken over by trees with a variety of other plants invading the former grassy shoulder area. The invaders are growing in groups or clumps of like vegetation and notice the height variations of the plants. (Middle) Nice shot of the various colors of grass and how the colors are bunched together. (Right) You can see where the high water line is by the different types of vegetation.
Part II: Pictures of the Layout
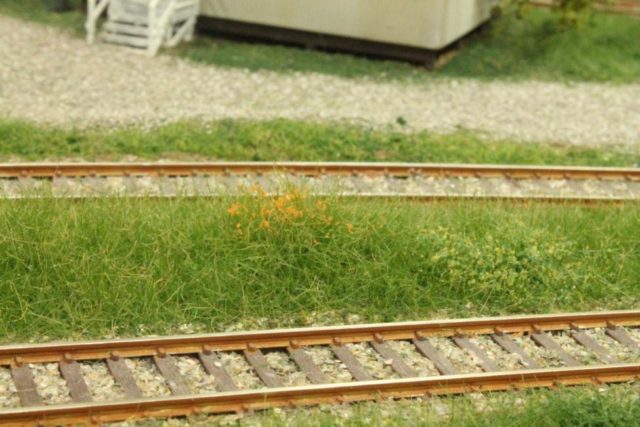
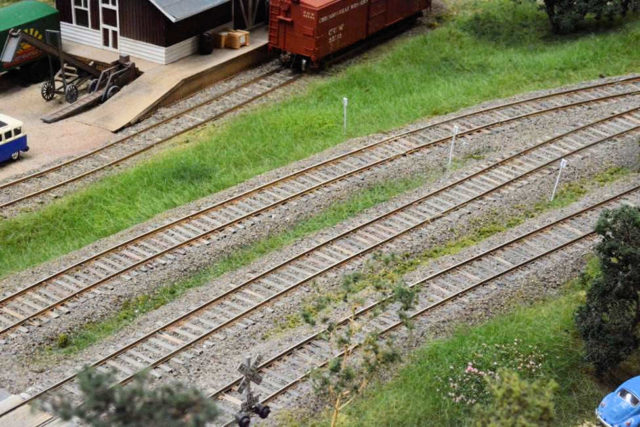
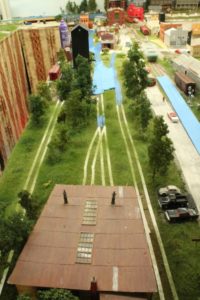 The area in front of the engine house I wanted grass between the rails so I just covered the rail heads with tape. Further back I didn’t want weeds between the rails and the whole track is covered.
When you have static grass right next to the rails you have to go back and trim the grass off the rails as the grass does not conduct electricity. It can also stop an engine. I took a heisler engine in and the grass next to the tracks stopped it dead. I had to cut the grass back like the engine had broken it off by several runs through.
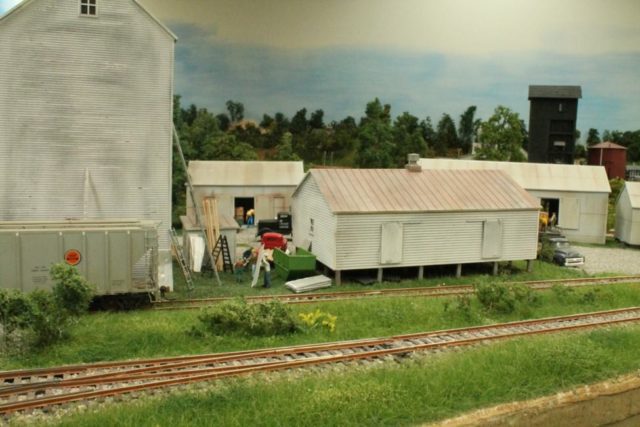
In the unkempt areas I have gotten the grass close to the buildings also notice the ridges and valleys in the grass. All the differences are due to the layering of the static grass.
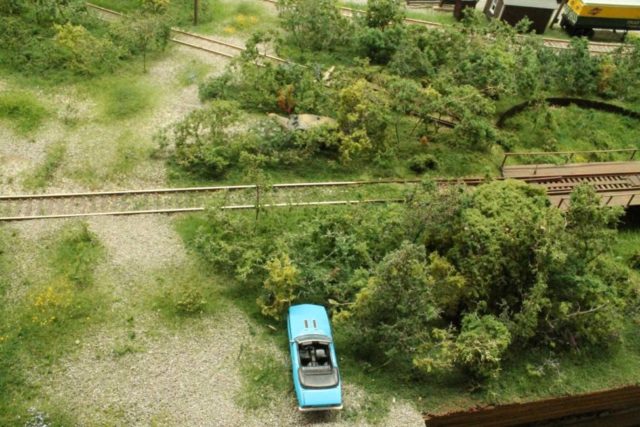
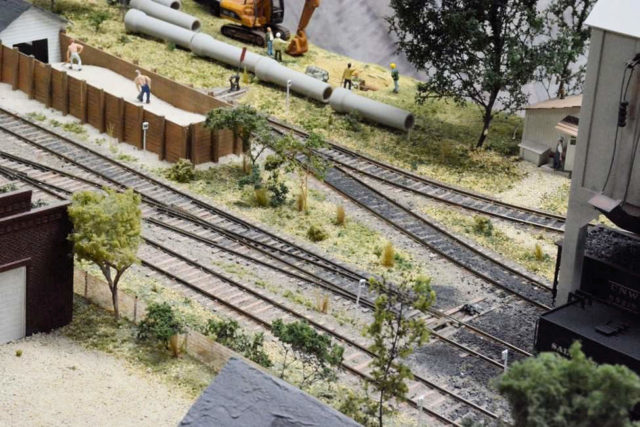
An example of an area that is being reclaimed by nature.
Another example of an area that is being reclaimed by nature.
Some flowers and leafy vegetation growing between the tracks.
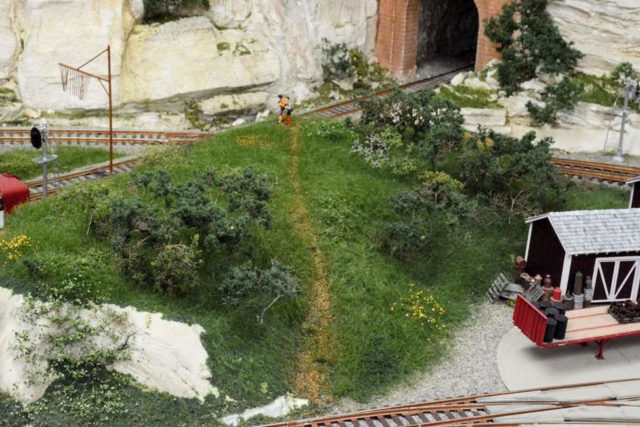
In the lower left is a nice vine climbing up the hill side the path takes a little thought to put the base soil down first and then add grass in layers each time clearing the path before the glue sets.
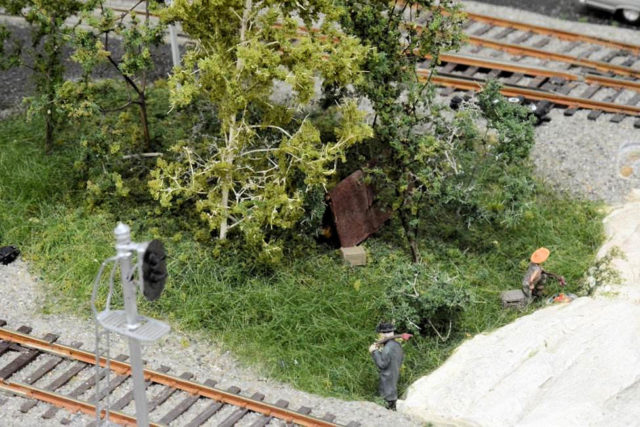
Trees with branches to ground level.
A scene I did in the 1980s that I haven’t redone.
A foot away is an area that has been redone.
Part III: How to Do It – Layers of Static Grass
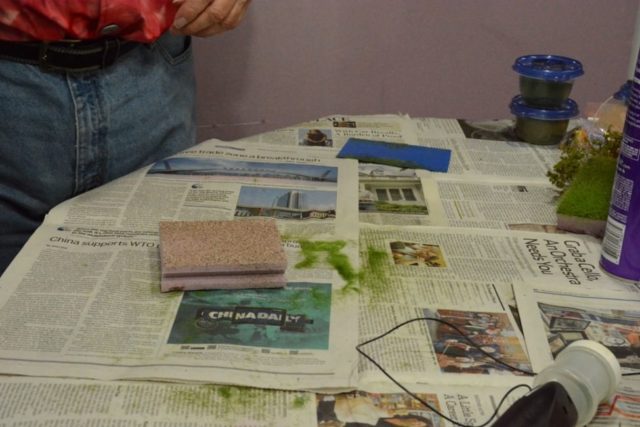
Apply the first layer of grass by tapping the container to get the grass to fall. The basic way it is accomplished is by building up the static grass with several applications to get the various variations in height and density to simulate a natural area. Flat areas are the easiest to work with; they will give a nice even height for the first layer. If you already have ground foam scenery down like I do the first layer will not necessarily be very even or really straight up and down.
Loading the basket is a time consuming thing with the small container it has to be filled often. Fill it about half or two thirds full, less as the fibers get longer. Don’t touch the screen on the basket till you dissipate the charge they say it is shocking. When the basket is loaded prepare the area to be grassed. The first layer can be glued with any glue you like spread an even coat. Don’t do real big areas as the glue could set before you get the entire area covered.
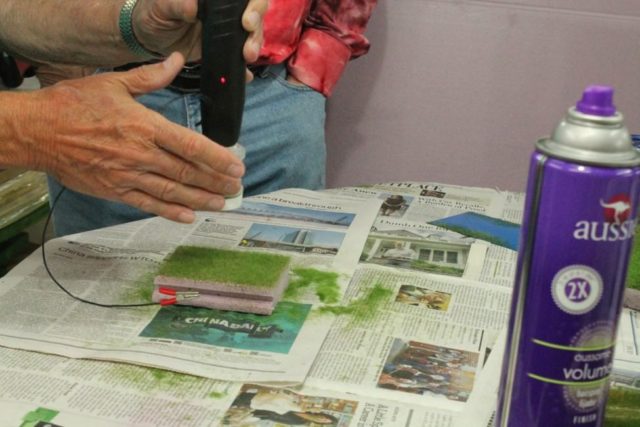
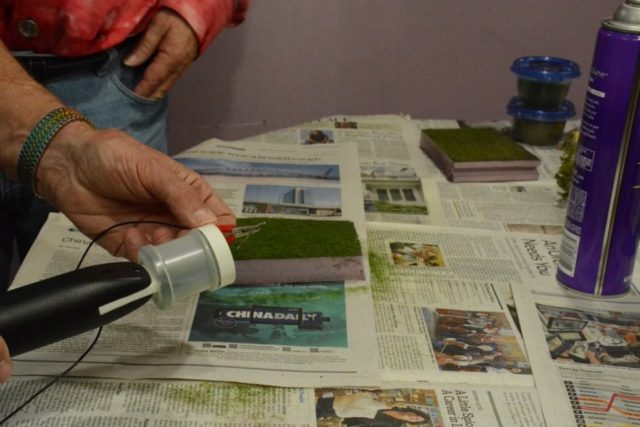
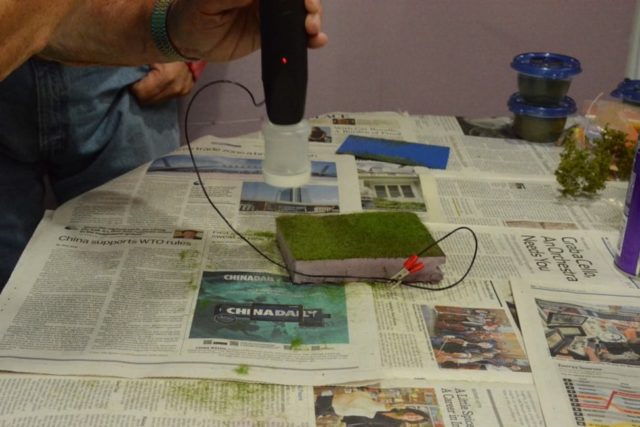
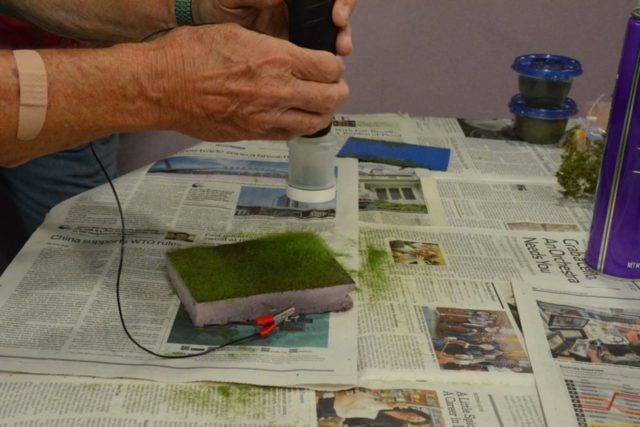
Discharging the electric charge. Plug the ground wire to something stuck in the area that you are working. I use a “T” pin. Turn on the applicator and start applying the static grass. When I’m using it I tap the basket or gently shake the basket up and down to get the fibers moving and falling out of the basket as I move about the area to be covered. If the area is flat you can get a nice even field of grass. Let the glue dry before starting the next step. Watch the area you are working it is possible to get too much grass in an area and it can tend to look like a mat. It is better to come back a second time and fill in thin areas rather than getting too much the first time.
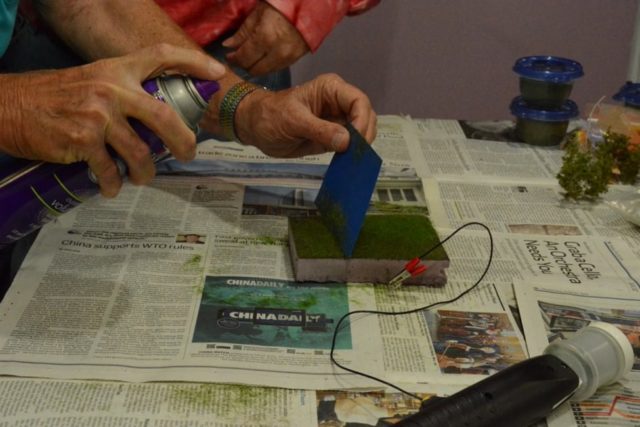
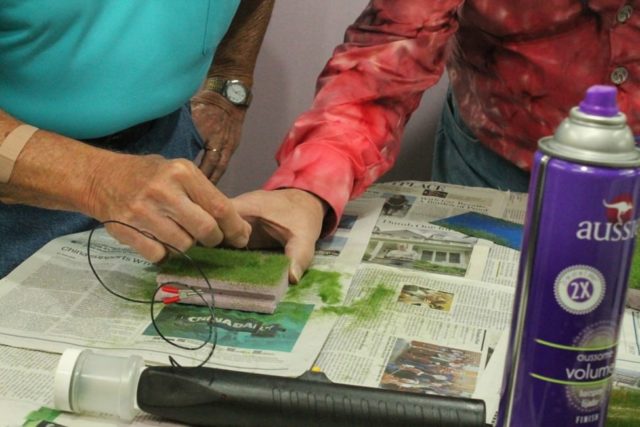
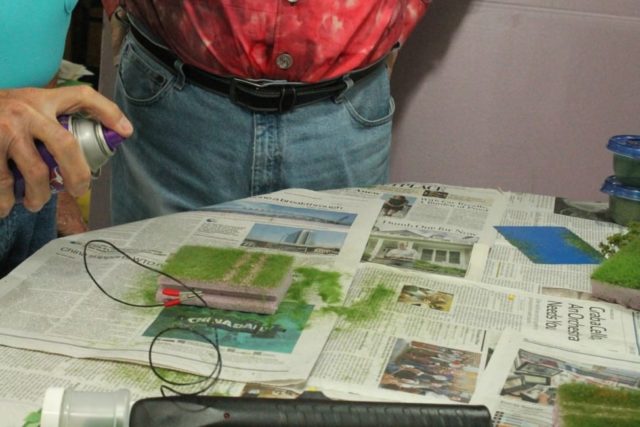
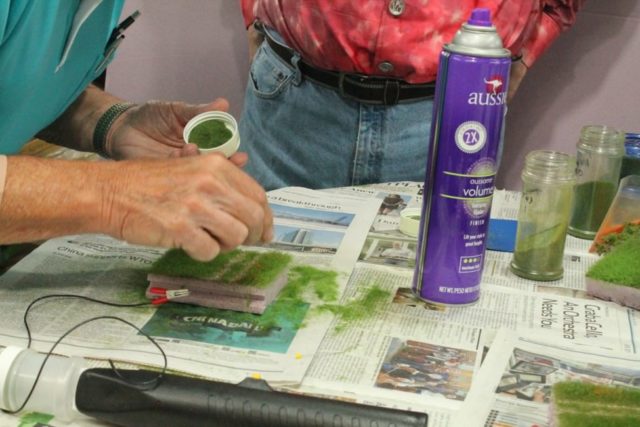
Using a shield to control where the adhesive is going. You need to do this around buildings to keep from grassing the walls. To get weeds we need to add more layers to get the look of a wild area. To do this you need a spray adhesive pick one whose smell you can stand as it may linger on the layout for days or weeks. I remember spraying one tree to put leaves on it and it took about a month before I could walk by without smelling it. I use hair spray as it is fairly cheap and it will hold pretty well. For the second layer we don’t want to cover the entire area again but only parts or spots for the second and third layers. We are building up ridges and clumps of vegetation. Some will be tall grass and some will be leafy plants some flowers some brush starting to get established.
Adding a third layer on the left side. Notice the gully is forming in the center and continuing to the lower right corner. The second and third layers should not completely cover the first layer they should just be spots or small areas that that are taller, as are the third and fourth layers if needed. Depending on how big or tall you want the ridges and clump to be it can take two to four layers to bet the right effect. Make sure you let the glue dry for each layer before putting on another layer.
Building up another area. The left side now is fairly tall grass. Here he is building up a smaller clump of grass in the upper corner. The taller areas will represent taller plants and shrubs. If you watch the road sides you’ll see that plants tend to grow in clumps and to different heights. One plant gets a foot hold and has invited his friends to join him. In the spring and early summer you will see flowers. Similar plants are the usually the same color. Getting the various shades of green is hard to do. I mix the basic colors available together. Most of my stuff is basically the same color.
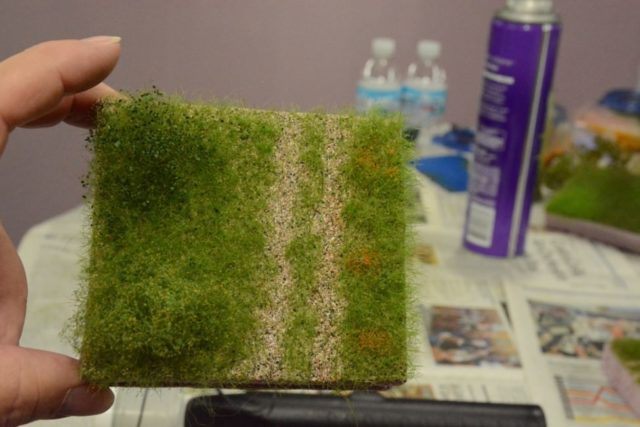
An example of a base for a road or path. For paths or dirt roads through an area start with the surface you want to show through dirt or rock. Then as you put down each layer take a pin and clear the center of the path. For narrow paths don’t just drag the pin straight through the area as the path will go from a narrow tire track to a highway as the fibers build up in front of the pin. Use short strokes and clean the fibers from the pin and then continue to clear the path.
Clearing the road. See how the grass is building up in front of the pin. Clean that clump off and then continue. If you don’t you will end up with a super highway and not a tire track.
Spraying an area to add a second layer of grass to build up the ridges valleys and clumps of foliage.
Clearing the road again.
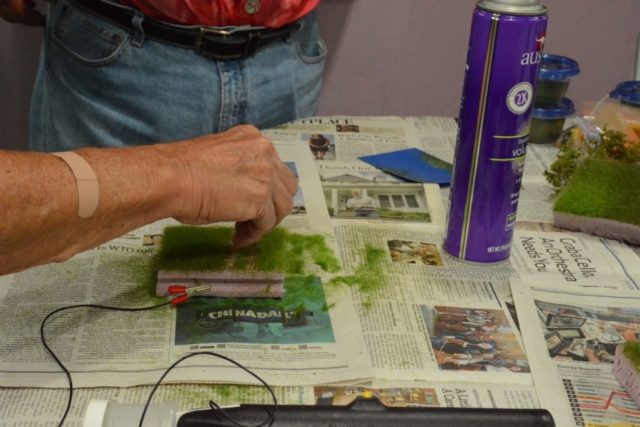
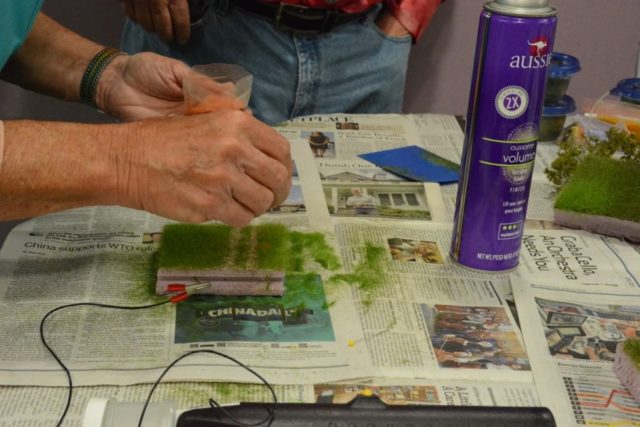
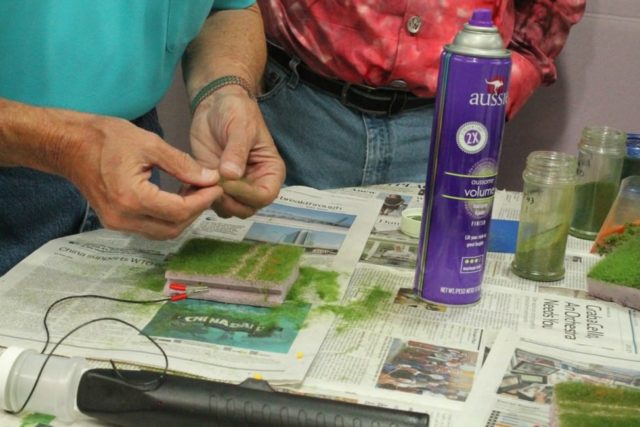
Adding flowers with a pinch of colored foam.
Adding leaves to form the leafy plants by adding ground foam. For leafy plants once they are as tall as you want hit the area with spray adhesive and take a pinch of fine ground foam between your thumb and first two fingers and lightly sprinkle it over the area of leafy vegetation. It takes some practice not to dump the whole bunch at once or not to compress the foam into big blobs. For plants with bigger leaves the Noch leaves are done the same way. To get an area of brush or vines take poly fiber and pull it apart as much as you can then spray the area where you want to put it then press the edges down to get the edges tacked down. Then from a distance hit it with the adhesive and cover the strands with light coating of ground foam or leaves. It is better to do a second application then to smoother the area the first time.
Working with poly fiber.
The finished project.

