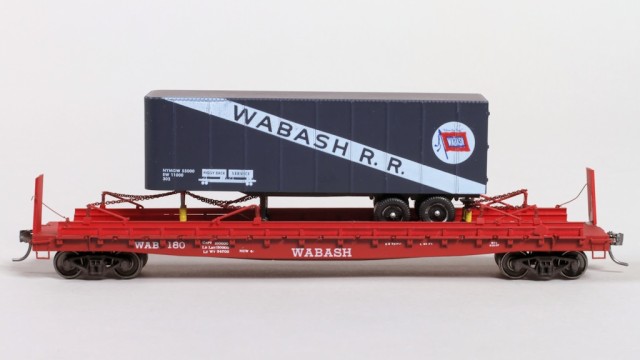
Construction photos by John Carty, finished model photos by Richard Schumacher
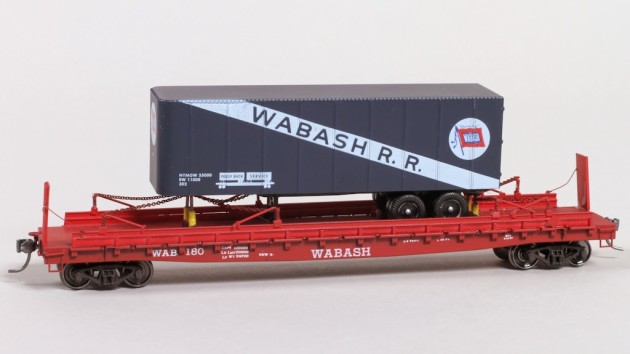
Being a member of a historical society has its benefits. With my membership in the Wabash Railroad Historical Society, I receive their calendar. While I have never found the photographs featured on the calendar disappointing, some provide more inspiration than others. The April 2014 photo of Wabash flat car number 142 sporting a trailer provided such inspiration.
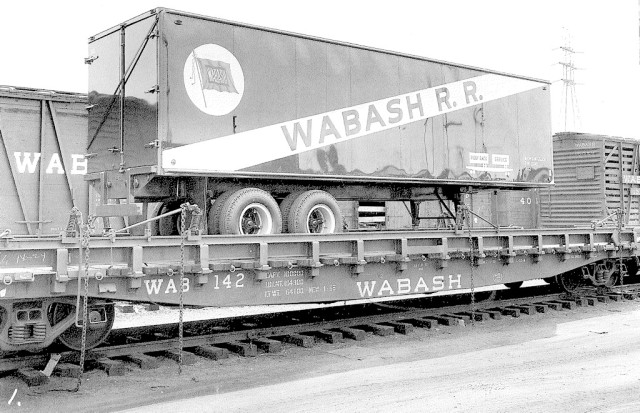
In the mid 1950s, the Wabash began buying trailers for their innovative piggy-back service. Trailer 302 was a 32′ dry van built by Baker Trailer & Body in 1956. Flat car 142 was built in the Decater Shops with General Steel Castings one-piece body and frame. Photo by George Dorrill, courtesy of the Wabash Railway Historical Society.
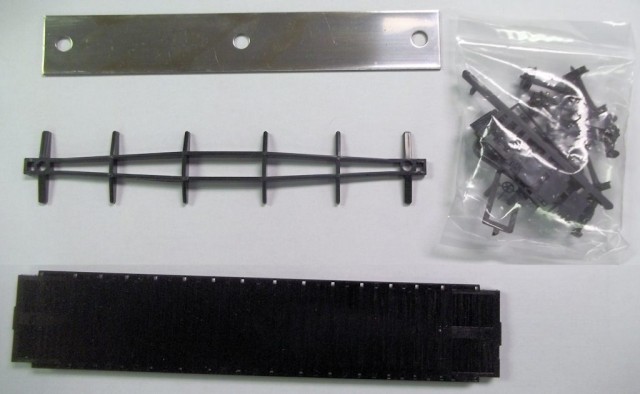
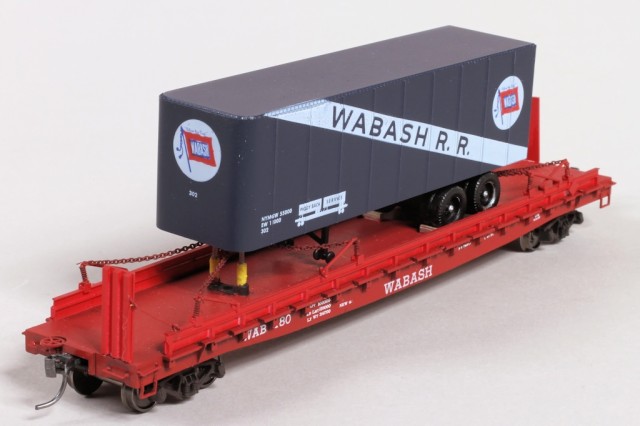
Since the Wabash built the car in her own shops using castings from General Steel Casting, I poked around the internet until finding a model of the prototype. Tichy produces a nice version of the car. Given that you can never have just one piggy back car, I bought three kits. I also picked up some Athearn 50’ flat car underframes, when I found that the Tichy sold the kits sans brake details. I also bought some 32’ trailers by Walthers on eBay (Wabash which were out of production) and from the hobby shop. As a note I constructed a single car first, while taking notes, and then proceeded with the other two.
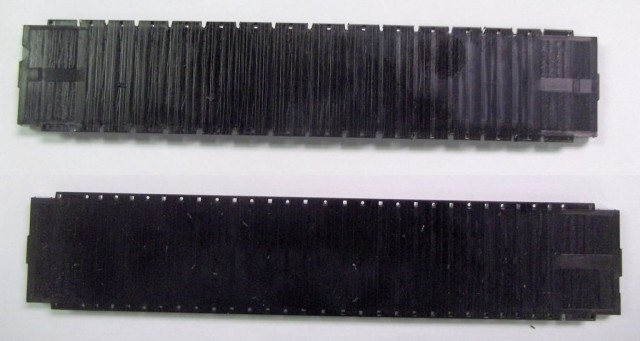
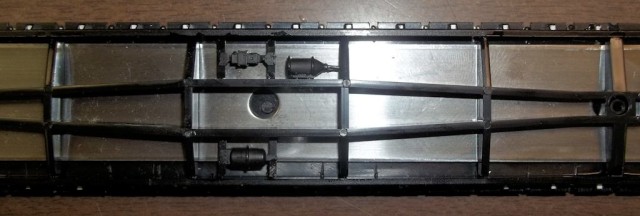
I started by cutting and filing the center board, the one with the dummy stake pocket molded on it, between each stack pocket bring it flush with the side of the car. I was not as diligent with the first car and managed to scrape the sides a few time. Next I drilled a #73 hole in the end of each board I cut from the side of the car. Into each hole I inserted a Tichy lift ring. After this, I installed the weight and frame, while on the latter two models I added the pieces of the Athearn frame containing the brake castings between the center sill and side of the car.
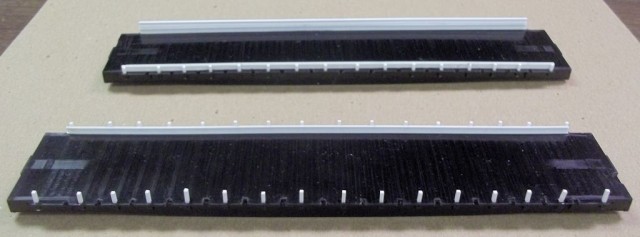
Next I cut 0.040” square strip styrene into 3/8” lengths. Since the posts are to be trimmed, the exact length is not critical. I inserted each piece of cut styrene into the stake pockets aligning the end of the strip with the bottom of the pocket and securing with liquid cement. After the cement had dried, I added a piece of 0.100” styrene channel along the bottom of the inside of the posts to make the rub rail. When this had dried, I cut the channel even with the end posts and all of the posts flush with the top of the rub rail. To the top of the posts I then added a piece of 0.080” I-beam to serve as the tie-down rail and cut it to length after it dried. I cut a pair of hazmat placards from 0.010” x 0.125” strip styrene and cemented them on each side of the rub rails on the right end.
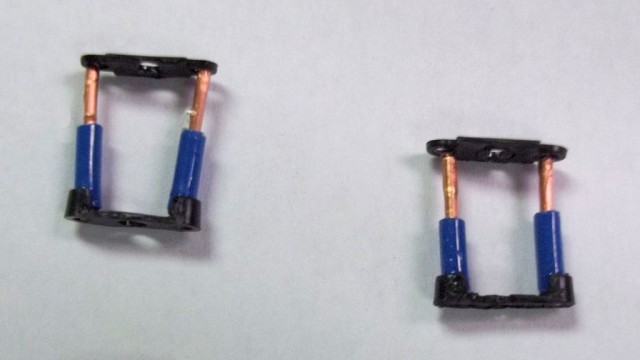
Railroads were rather inventive in the way that they secured trailers to the flat cars in the 1950s. Usually crews jacked the trailers up in order to take the weight off of the wheels and landing gear. At first inspection of the photograph, I thought that the Wabash did not do this. A later look caused me to realize that the photo was taken when the trailer had been loaded but not yet chained down, since the chains were hanging over the sides of the car. So jacks were needed. For jacks, I cut wire about 3/32” in diameter into pairs of 5/8” and ½” lengths and stripped them leaving about 3/8” of insulation. I also cut the centers from the tops and bottoms of Kadee coupler boxes, leaving the ears but not the center posts. I secured the insulated ends of each pair of wire into the wells of the box bottoms and then secured the lid sections to the top of the wires using Zap a Gap.
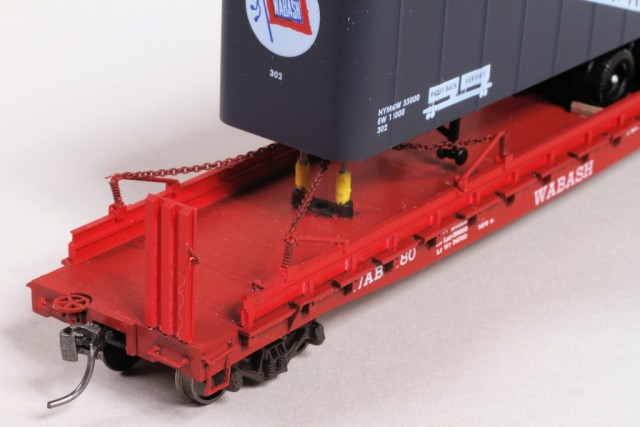
In the case of these cars, ratchets were attached to the tie down rail to remove slack from the chains holding the trailer in place. For the brackets, I cut 0.080” styrene H-column into 1/16” and 1/32” pieces. The measurements given represent ball park figures, as I did this by eye. Through the web of the H-beam on the longer pieces I drilled a #67 hole. I cemented four of the longer pieces to the tops of each of the rub rails with the web of the H-column horizontal and the legs straddling the tie down rail. I tried to place these pieces, which will serve as the bases of the ratchets, roughly where the photo shows them.
For the ratchets, I bent 0.028” brass wire into a check mark with a short leg of about ¼” and the longer leg at about ¾”. At the end of the long leg, I bent a right angle such that it would be parallel to the deck and cut the piece. I then slipped a Kadee coupler spring over the short leg and a piece of 0.008” wire, which sticks up above the junction of the two legs, securing the assembly with ACC. The little piece of wire serves as a mounting point for the chains later. After the glue has set, cut the short leg about 1/32” longer than the spring. I affixed each ratchet assembly to its base on the tie down rail using ACC and added one of the 1/32” pieces of column cut earlier to the tie down rail to serve as a cradle for the end of the ratchet arm. The ratchets are mounted in pairs with a pair on each side of each end of the trailer.
I assembled wheel chocks using 0.060” square and 0.020” x 0.040” strip styrene connected by strips of 0.010” x 0.060” strip. I fit the chocks closely to the wheels of the trailer. I positioned the jacks on the flat car deck so that the post for the 5th wheel fit into the taller jack and the shorter jack supported the trailer just behind the axles. Using the trailer I positioned the chocks by setting them on the deck of the car and placing the wheels of the trailer in them and then sliding the post in to the 5th wheel. I then secured the chocks in place.
I connected chains first to one ratchet, securing the chain with a drop of Zap a Gap after bending down the 0.008” wire. Next I threaded the chain under the top of the jack and then secured it to the other ratchet. After the glue dried I cut off the excess chain.
After washing the cars with dish detergent and letting them air dry, I sprayed them with Color Place Fire Red. I did not prime the cars and ended up with the color variations I saw in the photograph. I painted the trucks with Krylon Earth Brown. Using a brush and acrylic paints I painted the chains black, the chocks buff, and the jacks yellow, steel grey, and black. I used flat car data from Tichy along with Champ Wabash road name and number decals. The Tichy decals are actually for forty-foot flats, but they did the job. Being new equipment in 1955, I only applied very light weathering.

