Part II: The walls and windows
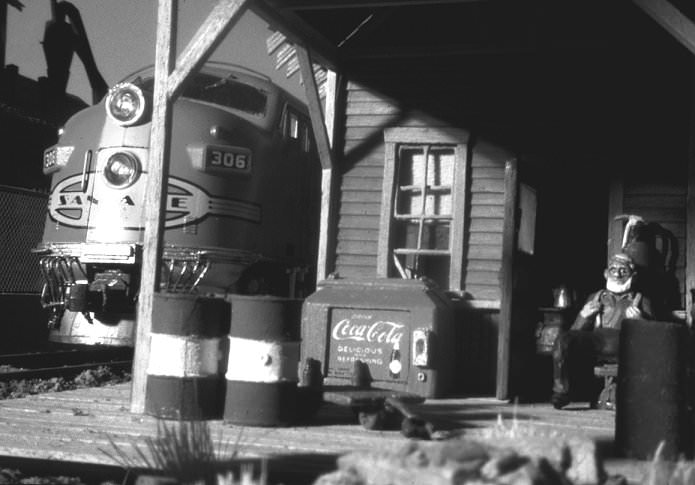
by Phil Sheahan photo by Gary Hoover
If the window castings are metal, prime them all at once using either an airbrush or aerosol paint spray. Let the paint cure about a week and then brush paint them the chosen color. If they are plastic castings, just spray the chosen color right on. You may wish to drybrush the castings to simulate peeling paint. Let them sit a day and then go over them with your India ink weathering mixture.
Glue window castings in place with white glue. Clear styrene is used for the glazing. Cut it to fit the opening in the wood, not the casting. Window shades may be added using a sheet of typing paper painted both sides. Floquil “mud” works well as a standard window shade color. The styrene and shades are installed with Micro Kristal Clear as it dries clear. The super-detailers may simulate cracked or broken glass using the back of the point of an X-Acto knife to scribe the cracks.
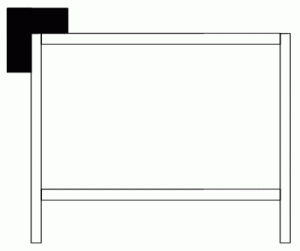
Interior bracing goes quickly, but a little extra time here really pays dividends when you glue your walls together. I usually use 1/8″ square stripwood. I use an angle plate to frame the four side walls flush with the stripwood. Do the ends of the side walls first getting two sides flush using an internal right angle. Trim the excess with a razor blade. Then fit and cut to length the bracing for the bottom and top and glue in place.
For the peaked ends, cut and glue 1/16″ corner posts first. Prepaint the corner posts. If your walls are symmetrical, the cut on one piece will match the angle on the other side, saving stripwood. To frame the ends, allow for the 1/16″ corner thickness of the clapboard and the 1/8″ bracing on the mating part. This method provides nice wide gluing surfaces and right angles, making a square building easy.
Put a piece of 1/16″ on top of the clapboard siding next to a piece of 1/8″, holding both against the straight edge. Now glue on your 1/8″ bracing with the two other strips providing the exact spacing. Once both sides of the end piece are done, cut and fit the top and bottom bracing pieces, gluing them flush with no spaces between them and the part edge.
If you are installing floors, now is the time to determine the heights of these floors. Sand or cut a block of wood to the desired height, taping a pencil to the top of the block. Using this marking tool, draw a line on all four inside walls, then cut, fit and glue 1/8″ bracing on the bottom of this line on all four walls to later support the floor. If you are lighting the structure and wish no light to show from a window, draw lines for gluing a view block, but don’t install it yet.
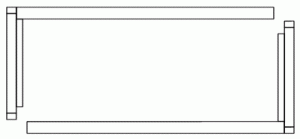
Now add the rest of the interior bracing. These don’t have to be square or straight, as they don’t show and don’t interfere with the fit of the walls. Just don’t cover windows and doors. Using any right angle on your angle plate, glue a side wall and end wall together. Then glue the other end and side walls together resulting in two right angled structure sections. If you are not lighting or adding an interior to the structure, paint the interior black to eliminate warpage.
If installing an interior or floor, cut and fit the floor using the 1/8″ strip you previously installed, then paint the floor the desired color. If installing light blocks, cut and fit them now.
Glue the two right angled structure sections together. This creates the basic structure and ensures square assembly. The bracing provides nice wide gluing surfaces so that no glue will appear on the outside. It also provides a nice wide gluing surface for the roof.
I would like to hear of any tips or tricks you might have. The more ideas a modeler discovers, the easier it is to achieve what you want to accomplish. Happy modeling!


